Mini Lemon Cheesecake Tarts
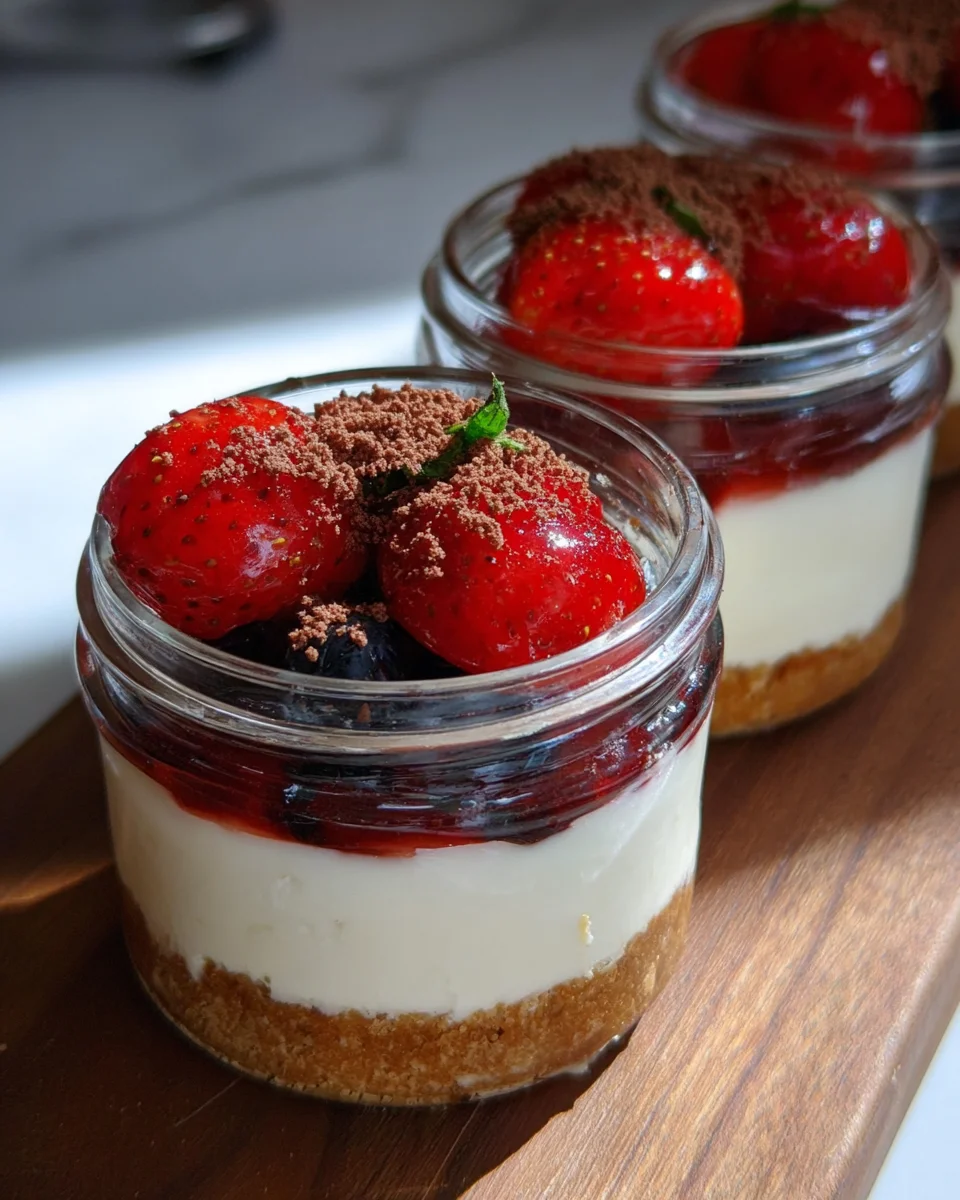
With the delightful combination of tart lemon and creamy cheesecake, Mini Lemon Cheesecake Tarts are a fantastic dessert choice for any occasion. These little treats are perfect for spring and summer celebrations, bringing a burst of flavor in every bite. Whether you’re hosting a party, enjoying a picnic, or simply satisfying your sweet tooth, these no-bake tarts will impress your guests with their cute presentation and delicious taste.
Why You’ll Love This Recipe
- Quick and Easy: These mini tarts come together in just 20 minutes of prep time, making them an effortless dessert option.
- No Baking Required: Enjoy the simplicity of a no-bake recipe that saves you time and hassle.
- Customizable Garnish: Top with fresh fruit or preserves to personalize each tart according to your tastes.
- Perfect for Any Occasion: Whether it’s a summer barbecue or a cozy family gathering, these tarts fit right in.
- Light and Refreshing: The combination of lemon zest and juice creates a bright flavor that’s perfect for warm weather.
Tools and Preparation
To make your Mini Lemon Cheesecake Tarts, you’ll need some essential tools to ensure everything goes smoothly. Having the right equipment on hand will help streamline the preparation process.
Grab This Chef Knife Now - Almost Gone!
- Stays Razor-Sharp: Ice-hardened blade keeps its edge longer than ordinary knives
- Superior Grip Control: Unique finger hole design gives you perfect balance and safety
- Built to Last a Lifetime: Premium stainless steel blade with elegant beech wood handle
Customer Reviews ★★★★★
Essential Tools and Equipment
- Food processor
- Mixing bowls
- Measuring cups and spoons
- Rubber spatula
- Muffin tin
Importance of Each Tool
- Food processor: Ideal for crushing graham crackers into fine crumbs, ensuring a smooth crust.
- Mixing bowls: Necessary for combining ingredients efficiently without mess.
- Rubber spatula: Helps scrape down sides of bowls for thorough mixing, minimizing waste.
Ingredients
Here are the ingredients needed to create these delightful Mini Lemon Cheesecake Tarts:
For the Crust
- 1 cup graham cracker crumbs (5 ounces, or 10 crackers crushed)
- 2 tablespoons granulated sugar
- 6 tablespoons unsalted butter (melted)
For the Filling
- 1 8-oz package cream cheese (softened)
- 1/2 cup sugar
- 2 teaspoons lemon zest (divided)
- 2 tablespoons lemon juice (freshly squeezed)
- 1/3 cup heavy whipping cream
- 1/4 teaspoon vanilla extract
For Garnish
- Fresh fruit or fruit preserves
How to Make Mini Lemon Cheesecake Tarts
Step 1: Prepare the Crust
- In a food processor, combine the graham cracker crumbs, granulated sugar, and melted unsalted butter. Pulse until well mixed.
- Press the mixture evenly into the bottom of each muffin tin cup to form the crust.
Step 2: Make the Filling
- In a mixing bowl, beat together the softened cream cheese, sugar, half of the lemon zest, and lemon juice until smooth.
- In another bowl, whip the heavy whipping cream until soft peaks form. Gently fold this into the cream cheese mixture until combined.
Step 3: Assemble the Tarts
- Spoon or pipe the filling into each crusted muffin cup until filled to the top.
- Chill in the refrigerator for at least 2 hours to set.
Step 4: Serve with Garnish
- Once set, remove from muffin tins carefully.
- Top each tart with fresh fruit or fruit preserves before serving to add color and flavor.
Enjoy your delightful Mini Lemon Cheesecake Tarts at your next gathering!
How to Serve Mini Lemon Cheesecake Tarts
Mini Lemon Cheesecake Tarts are delightful little desserts that can brighten up any gathering. Their charm lies in their versatility, allowing you to dress them up in various ways for different occasions.
With Fresh Fruits
- Berries: Top with strawberries, blueberries, or raspberries for a burst of flavor and color.
- Kiwi Slices: Add fresh kiwi slices for a tropical twist that complements the lemon.
- Peach Chunks: Garnish with diced peaches for a sweet and juicy complement to the tangy filling.
With Fruit Preserves
- Lemon Curd: A dollop of lemon curd adds an extra zing and enhances the citrus theme.
- Berry Jam: Swirl in some berry jam for a touch of sweetness and a beautiful presentation.
- Apricot Preserve: Spread apricot preserves on top for a sweet note that pairs well with lemon.
As Part of a Dessert Platter
- Mini Cupcakes: Serve alongside mini cupcakes for a varied dessert experience.
- Chocolate Truffles: Include chocolate truffles to provide contrasting flavors and textures.
- Cookies: Pair with assorted cookies for guests to enjoy multiple sweet options.

How to Perfect Mini Lemon Cheesecake Tarts
To ensure your Mini Lemon Cheesecake Tarts turn out perfectly every time, follow these helpful tips.
- Use Softened Cream Cheese: Ensure your cream cheese is at room temperature for a smooth filling.
- Fresh Ingredients Matter: Always use fresh lemon juice and zest for the best flavor profile.
- Chill Time is Key: Allow the tarts to chill adequately; this helps set the filling and enhances the taste.
- Garnish Just Before Serving: To keep fruits fresh, add garnishes right before serving.
- Taste as You Go: Adjust sugar and lemon juice according to your preference during preparation.
Best Side Dishes for Mini Lemon Cheesecake Tarts
Pairing side dishes with Mini Lemon Cheesecake Tarts can elevate your dessert table. Here are some excellent options:
- Fruit Salad: A light fruit salad provides freshness and balances the richness of the tarts.
- Panna Cotta: This creamy Italian dessert complements the tarts without overpowering them.
- Scones: Serve lemon-infused scones as a delightful pairing that echoes citrus notes.
- Meringue Cookies: These airy treats add texture and sweetness alongside the cheesecakes.
- Coffee or Tea: Offering coffee or herbal tea can enhance the overall dessert experience.
- Cheese Platter: A selection of mild cheeses creates a savory contrast to the sweet desserts.
Common Mistakes to Avoid
Making Mini Lemon Cheesecake Tarts can be a breeze, but a few common mistakes can lead to less-than-perfect results. Here are some pitfalls to watch out for:
- Skipping the Cream Cheese Softening: Always soften cream cheese before mixing. Cold cream cheese won’t blend well and may leave lumps in your filling.
- Overmixing the Filling: Mix just until combined to avoid incorporating too much air. Overmixing can cause the tarts to crack when set.
- Not Measuring Ingredients Accurately: Use precise measurements for ingredients. Too much or too little of key components like sugar or lemon juice can impact flavor and texture.
- Ignoring Chill Time: Allow adequate chilling time after assembling. This helps the tarts set properly, ensuring they hold their shape when served.
- Neglecting Garnishes: Don’t forget about garnishing! Fresh fruit or fruit preserves add visual appeal and enhance flavor, making your tarts even more delightful.

Storage & Reheating Instructions
Refrigerator Storage
- Store Mini Lemon Cheesecake Tarts in an airtight container.
- They can be kept in the refrigerator for up to 5 days.
Freezing Mini Lemon Cheesecake Tarts
- Place tarts in a single layer on a baking sheet, then freeze until solid.
- Transfer them to a freezer-safe container for up to 2 months.
Reheating Mini Lemon Cheesecake Tarts
- Oven: Preheat to 350°F (175°C). Heat for about 10 minutes until slightly warm.
- Microwave: Warm individual tarts on medium power for 15-20 seconds.
- Stovetop: Place tarts in a covered skillet over low heat for about 5 minutes.
Frequently Asked Questions
Here are some frequently asked questions about Mini Lemon Cheesecake Tarts that might help you in your baking journey.
How do I make Mini Lemon Cheesecake Tarts gluten-free?
You can substitute graham cracker crumbs with gluten-free alternatives such as almond flour or gluten-free cookie crumbs for the crust.
Can I use bottled lemon juice instead of fresh?
While you can use bottled lemon juice, fresh lemon juice provides a brighter flavor that enhances the overall taste of your tarts.
How long do Mini Lemon Cheesecake Tarts last?
When stored properly, these tarts can last up to 5 days in the refrigerator and up to 2 months in the freezer.
Can I customize my Mini Lemon Cheesecake Tarts?
Absolutely! You can add different flavors by mixing in extracts or using various fruits as toppings. The possibilities are endless!
Final Thoughts
Mini Lemon Cheesecake Tarts are perfect for any occasion, offering a refreshing burst of flavor in every bite. Their versatility allows you to customize them with different fruits and toppings. So why not give this delightful recipe a try? Your friends and family will surely love these charming treats!

Mini Lemon Cheesecake Tarts
- Total Time: 0 hours
- Yield: Makes approximately 12 tarts 1x
Description
Mini Lemon Cheesecake Tarts are a delightful fusion of tart lemon and creamy cheesecake, perfect for any occasion. These no-bake treats bring a refreshing burst of flavor that brightens up spring and summer gatherings.
Ingredients
- 1 cup graham cracker crumbs
- 2 tablespoons granulated sugar
- 6 tablespoons unsalted butter (melted)
- 1 package (8 oz) cream cheese (softened)
- 1/2 cup sugar
- 2 teaspoons lemon zest (divided)
- 2 tablespoons freshly squeezed lemon juice
- 1/3 cup heavy whipping cream
- Fresh fruit or fruit preserves for garnish
Instructions
- In a food processor, blend graham cracker crumbs, sugar, and melted butter. Press this mixture into muffin tins to form crusts.
- Beat cream cheese, sugar, half the lemon zest, and lemon juice in a bowl until smooth.
- Whip the heavy cream until soft peaks form and fold into the cream cheese mixture.
- Spoon filling into the prepared crusts and chill for at least two hours.
- Garnish with fresh fruit or preserves before serving.
- Prep Time: 20 minutes
- Cook Time: None
- Category: Dessert
- Method: No-Bake
- Cuisine: American
Nutrition
- Serving Size: 1 serving
- Calories: 175
- Sugar: 10g
- Sodium: 150mg
- Fat: 11g
- Saturated Fat: 7g
- Unsaturated Fat: 4g
- Trans Fat: 0g
- Carbohydrates: 17g
- Fiber: 0g
- Protein: 3g
- Cholesterol: 30mg

