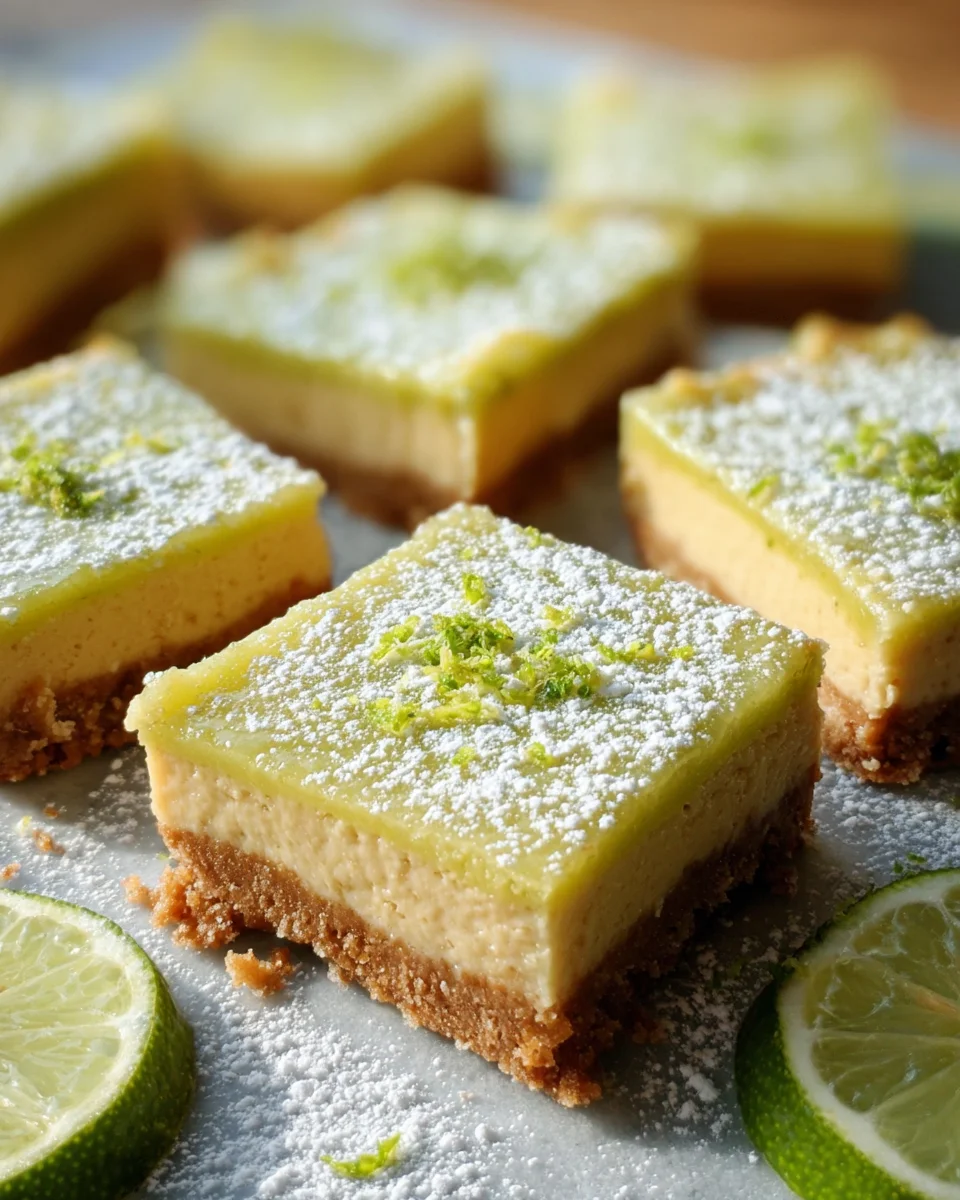
Key Lime Pie Bars
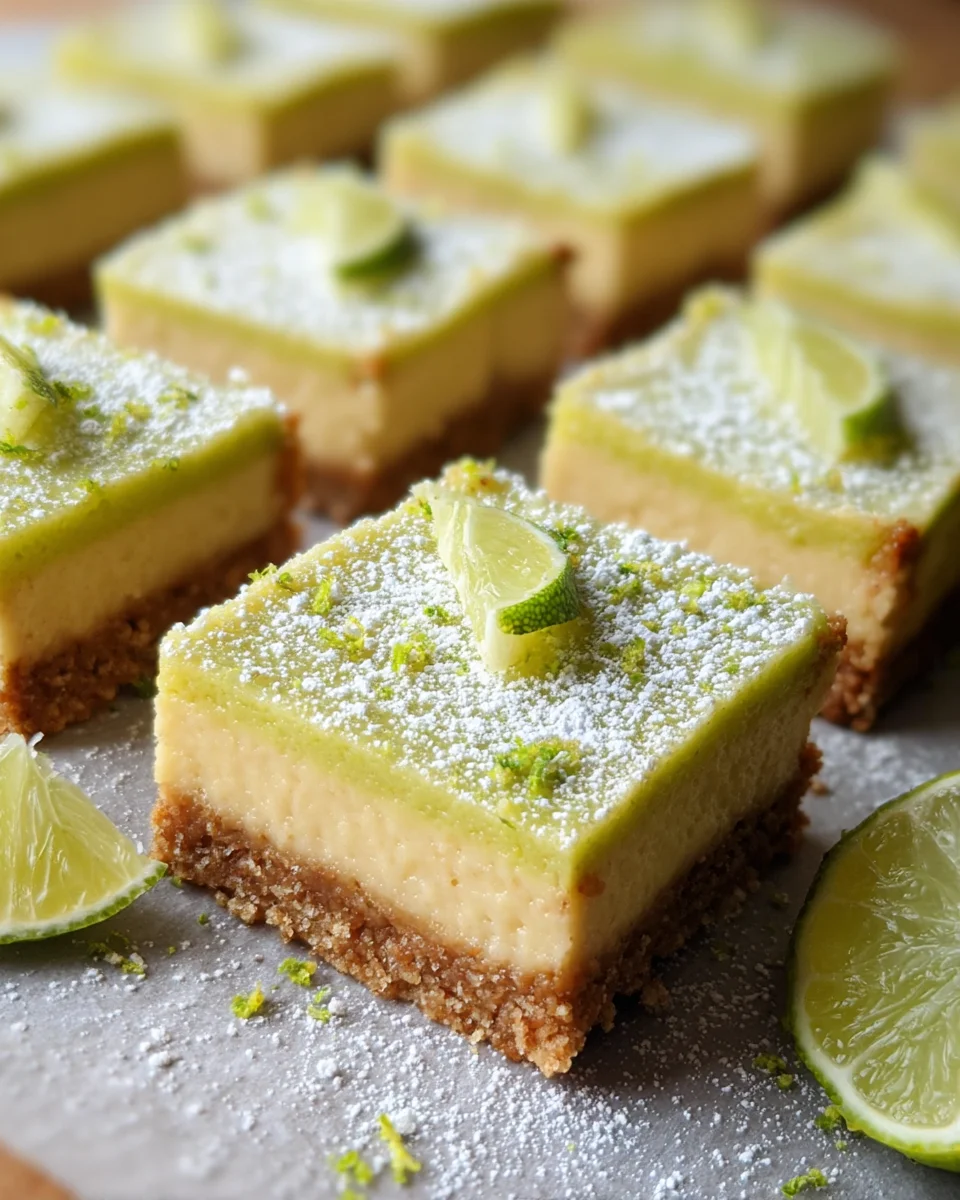
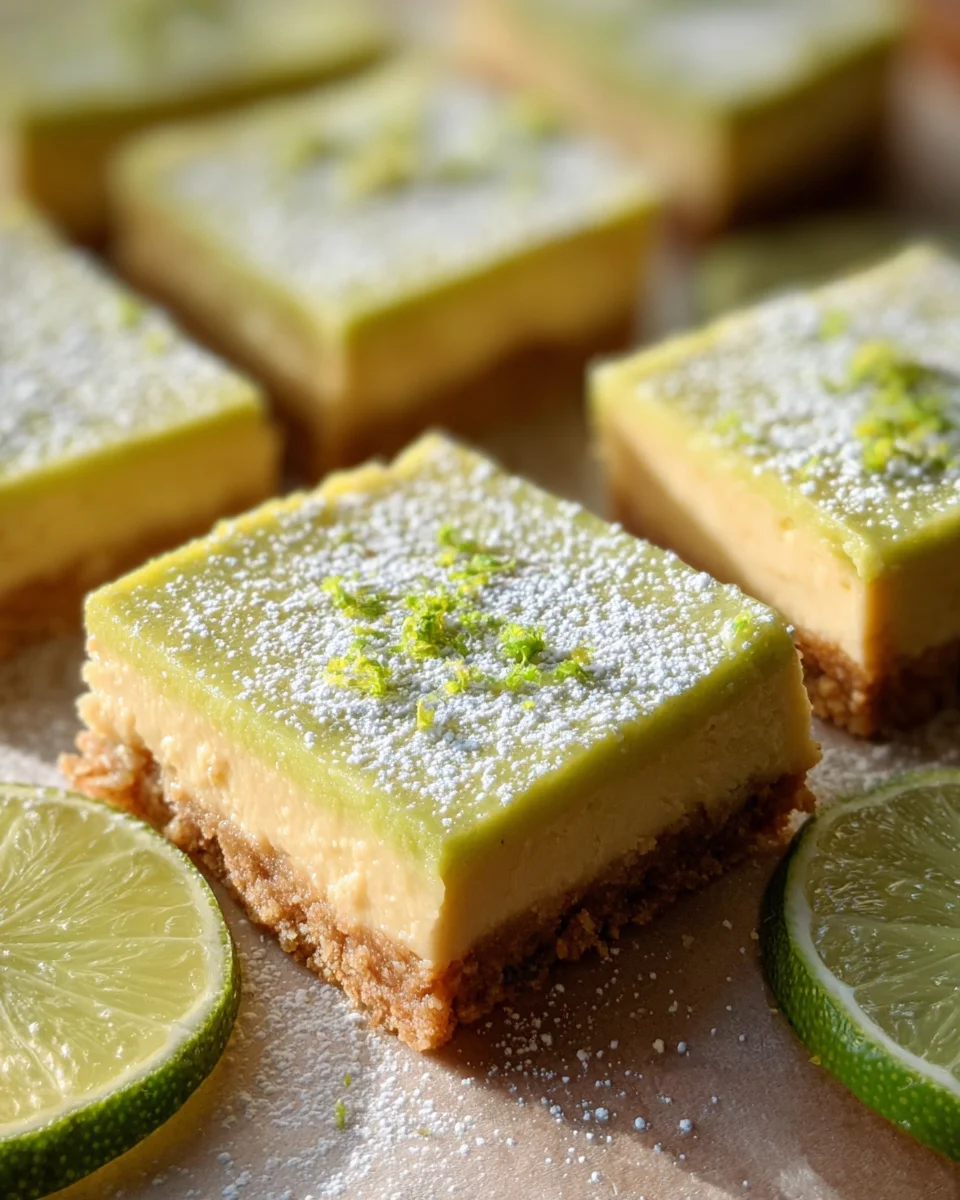
These Key Lime Pie Bars are a delightful blend of tartness and sweetness, making them a perfect treat for summer gatherings, barbecues, or any occasion where you crave something refreshing. With their creamy filling and crunchy crust, these bars stand out as a crowd-pleaser. Plus, they are simple to make and can be enjoyed chilled right from the fridge!
Why You’ll Love This Recipe
- Easy to Make: With just a few simple steps, you can whip up these key lime pie bars in no time.
- Refreshing Flavor: The balance of tart lime and sweet cream makes every bite irresistible.
- Perfect for Any Occasion: Whether it’s a summer picnic or a holiday gathering, these bars will impress your guests.
- Make Ahead: Prepare them in advance and store them in the fridge for that cool treat whenever you need it.
- Versatile Dessert: Enjoy them plain or topped with whipped cream for an extra touch.
Tools and Preparation
To create these delicious key lime pie bars, you’ll need some essential tools that make the process smooth and efficient.
Grab This Chef Knife Now - Almost Gone!
- Stays Razor-Sharp: Ice-hardened blade keeps its edge longer than ordinary knives
- Superior Grip Control: Unique finger hole design gives you perfect balance and safety
- Built to Last a Lifetime: Premium stainless steel blade with elegant beech wood handle
Customer Reviews ★★★★★
Essential Tools and Equipment
- Food processor
- Mixing bowls
- Whisk
- Baking dish (9×9 inches)
- Measuring cups and spoons
Importance of Each Tool
- Food processor: This tool is essential for finely grinding the vanilla wafer cookies into crumbs for the crust.
- Baking dish: A 9×9 inch baking dish provides the perfect size to bake all 16 squares evenly.
Ingredients
These perfectly tart and tangy key lime pie bars are a breeze to make and are delicious served straight from the fridge on a hot summer day!
For the Crust
- 2 cups vanilla wafer cookies, finely ground (250 g)
- 5 tablespoons unsalted butter, melted
- 2 tablespoons light brown sugar
For the Filling
- 1 tablespoon lime zest, packed (6-7 key limes)
- 5 large egg yolks
- 22 ounces sweetened condensed milk (1 14-ounce can and ½ cup from 2nd can)
- 1 cup freshly squeezed lime juice
For Topping
- 1 cup heavy whipping cream
- 2 tablespoons powdered sugar
How to Make Key Lime Pie Bars
Step 1: Prepare the Crust
- Preheat your oven to 350°F (175°C).
- In a food processor, pulse the vanilla wafer cookies until they’re finely ground.
- In a mixing bowl, combine the cookie crumbs with melted butter and light brown sugar. Mix until well combined.
- Press this mixture firmly into the bottom of your greased baking dish.
Step 2: Bake the Crust
- Place the baking dish in the preheated oven.
- Bake for about 10 minutes, or until lightly golden. Remove from oven and let it cool slightly.
Step 3: Make the Filling
- In a clean mixing bowl, whisk together the egg yolks until they are thickened slightly.
- Gradually add in sweetened condensed milk while continuing to whisk.
- Stir in freshly squeezed lime juice and lime zest until well combined.
Step 4: Bake Again
- Pour the filling over the cooled crust in your baking dish.
- Bake for an additional 15-20 minutes until set but still slightly jiggly in the center.
- Remove from oven and allow to cool completely at room temperature.
Step 5: Chill and Serve
- Once cooled, refrigerate for at least two hours before cutting into squares.
- Whip heavy cream with powdered sugar until soft peaks form; serve on top of each square if desired.
Enjoy your delicious homemade Key Lime Pie Bars!
How to Serve Key Lime Pie Bars
These key lime pie bars are not only delicious but also versatile when it comes to serving. Whether you’re hosting a summer barbecue or enjoying a quiet evening at home, these bars can be presented in various delightful ways.
Individual Portions
- Serve each bar in a small paper liner for easy handling and a fun presentation.
Topped with Whipped Cream
- Add a generous dollop of whipped cream on top for extra creaminess and an appealing look.
Garnished with Lime Wedges
- Place a thin lime wedge on each bar for a zesty touch and visual appeal.
Chilled with Fresh Berries
- Pair the bars with fresh strawberries or blueberries to add a burst of color and flavor.
Drizzled with Chocolate Sauce
- For a unique twist, drizzle melted chocolate over the bars before serving for added richness.
Served with Ice Cream
- A scoop of vanilla ice cream alongside the bars complements their tartness beautifully.
How to Perfect Key Lime Pie Bars
Perfecting your key lime pie bars can elevate them from good to unforgettable. Here are some helpful tips to ensure your dessert is always a hit.
-
Use Fresh Limes: Freshly squeezed lime juice enhances the tangy flavor compared to bottled juice.
-
Chill Before Serving: Allow the bars to chill in the fridge for several hours before cutting; this helps them set properly.
-
Adjust Sweetness: If you prefer less tartness, feel free to reduce the amount of lime juice slightly.
-
Don’t Overbake: Bake just until the center is set; overbaking can cause cracks and dry out the filling.
-
Cut With Care: Use a sharp knife dipped in hot water for clean cuts, ensuring neat squares without crumbling.
Best Side Dishes for Key Lime Pie Bars
Key lime pie bars pair wonderfully with various side dishes that complement their tangy flavor. Here are some great options to consider:
-
Fresh Fruit Salad: A mix of seasonal fruits adds sweetness and balances out the tartness of the bars.
-
Coconut Macaroons: These chewy treats provide a delicious contrast in texture and flavor.
-
Grilled Pineapple: The caramelized sweetness of grilled pineapple enhances the citrus notes beautifully.
-
Minted Yogurt Dip: A refreshing yogurt dip with mint elevates the dessert experience.
-
Chocolate-Dipped Strawberries: These classic treats add an indulgent touch alongside your key lime bars.
-
Peach Sorbet: The lightness of peach sorbet offers a cool, fruity counterpoint to the creamy bars.
Common Mistakes to Avoid
Making Key Lime Pie Bars can be fun, but there are common pitfalls to watch out for. Here are some mistakes to avoid:
- Using stale cookies: Ensure your vanilla wafer cookies are fresh for the best flavor and texture. Stale cookies can ruin the crust’s crunchiness.
- Skipping the zest: Lime zest adds essential flavor. Don’t skip it! Use freshly grated zest from key limes for that vibrant taste.
- Overbaking the filling: Baking the bars too long can lead to a rubbery texture. Keep an eye on them and remove once set but slightly jiggly in the center.
- Not chilling properly: Allow adequate cooling time before serving. Chilling helps the bars firm up and enhances their flavor.
- Ignoring measurements: Baking is a science; accurate measurements are key to achieving perfect results. Use a kitchen scale for precision.
Storage & Reheating Instructions
Refrigerator Storage
- Store leftovers in an airtight container.
- Key lime pie bars will last up to 4 days in the fridge.
Freezing Key Lime Pie Bars
- Wrap individual bars tightly in plastic wrap, then place in a freezer-safe container.
- They can be frozen for up to 3 months.
Reheating Key Lime Pie Bars
- Oven: Preheat to 350°F (175°C) and warm bars for about 10-15 minutes until slightly warmed.
- Microwave: Heat in short bursts of 10-15 seconds until just warm. Be careful not to overheat!
- Stovetop: Place bars in a non-stick skillet on low heat, cover with a lid, and warm for about 5-7 minutes.
Frequently Asked Questions
Here are some common questions about making Key Lime Pie Bars:
Can I use regular limes instead of key limes?
Yes, you can substitute regular limes if key limes are unavailable. The taste may vary slightly but will still be delicious.
How do I know when my key lime pie bars are done?
The edges should be set, while the center remains slightly jiggly. They will firm up as they cool.
Can I make these key lime pie bars dairy-free?
Absolutely! You can use coconut cream instead of heavy whipping cream and find dairy-free condensed milk alternatives.
What’s the best way to garnish key lime pie bars?
Top with whipped cream and additional lime zest for a beautiful presentation and extra flavor!
How long do these key lime pie bars last?
When stored properly in the refrigerator, they will last up to four days or three months if frozen.
Final Thoughts
These Key Lime Pie Bars offer a delightful blend of tartness and sweetness, making them a perfect summer treat. They’re versatile too—feel free to customize with different citrus flavors or toppings like coconut or berries. Try them today, and enjoy this refreshing dessert!
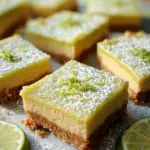
Key Lime Pie Bars
- Total Time: 50 minutes
- Yield: Serves 16 1x
Description
Indulge in a slice of summer bliss with these Key Lime Pie Bars! Perfectly balancing tartness and sweetness, these creamy dessert squares feature a crunchy vanilla wafer crust that makes them a hit at any gathering. Easy to prepare and delightful when served cold, they’re ideal for summer picnics, barbecues, or simply as a refreshing treat at home. With just a handful of ingredients and simple steps, you can whip up this zesty dessert that’s sure to impress family and friends. Enjoy them plain or elevate them with whipped cream for an added touch of luxury!
Ingredients
- 2 cups finely ground vanilla wafer cookies
- 5 tablespoons unsalted butter
- 2 tablespoons light brown sugar
- 1 tablespoon lime zest
- 5 large egg yolks
- 22 ounces sweetened condensed milk
- 1 cup freshly squeezed lime juice
- 1 cup heavy whipping cream
- 2 tablespoons powdered sugar
Instructions
- Preheat the oven to 350°F (175°C). In a food processor, grind the vanilla wafers into fine crumbs. Combine crumbs with melted butter and brown sugar; press firmly into the bottom of a greased 9×9 inch baking dish.
- Bake the crust for 10 minutes until lightly golden, then cool slightly.
- In a mixing bowl, whisk egg yolks until thickened. Gradually add sweetened condensed milk, followed by lime juice and zest; mix well.
- Pour the filling over the cooled crust and bake for an additional 15-20 minutes until set but still slightly jiggly in the center. Let cool completely at room temperature.
- Chill in the fridge for at least two hours before serving.
- Prep Time: 20 minutes
- Cook Time: 30 minutes
- Category: Dessert
- Method: Baking
- Cuisine: American
Nutrition
- Serving Size: 1 square (45g)
- Calories: 200
- Sugar: 18g
- Sodium: 60mg
- Fat: 10g
- Saturated Fat: 6g
- Unsaturated Fat: 3g
- Trans Fat: 0g
- Carbohydrates: 25g
- Fiber: <1g
- Protein: 3g
- Cholesterol: 80mg

