Halloween Brownies
These Halloween Brownies are not just a treat; they are a delightful way to celebrate the spooky season! Perfect for Halloween parties, school events, or family gatherings, these brownies bring a fun and creative twist to your dessert table. With their graveyard theme, they add an element of surprise that will impress both kids and adults alike. Plus, they are super easy to make!

Why You’ll Love This Recipe
- Spooky Fun: These brownies are decorated like a graveyard, making them a hit at Halloween gatherings.
- Easy to Prepare: The recipe is simple and quick, perfect for busy schedules.
- Deliciously Chocolatey: Rich chocolate brownies paired with sweet frosting offer an irresistible flavor combination.
- Versatile Decoration: You can customize the decorations based on your creativity or available candies.
- Perfect Serving Size: Each brownie is cut into rectangles, making them easy to serve and enjoy.
Tools and Preparation
To make these Halloween Brownies smoothly, you’ll need some essential tools in your kitchen. Having everything ready will make the process much more enjoyable.
Grab This Chef Knife Now - Almost Gone!
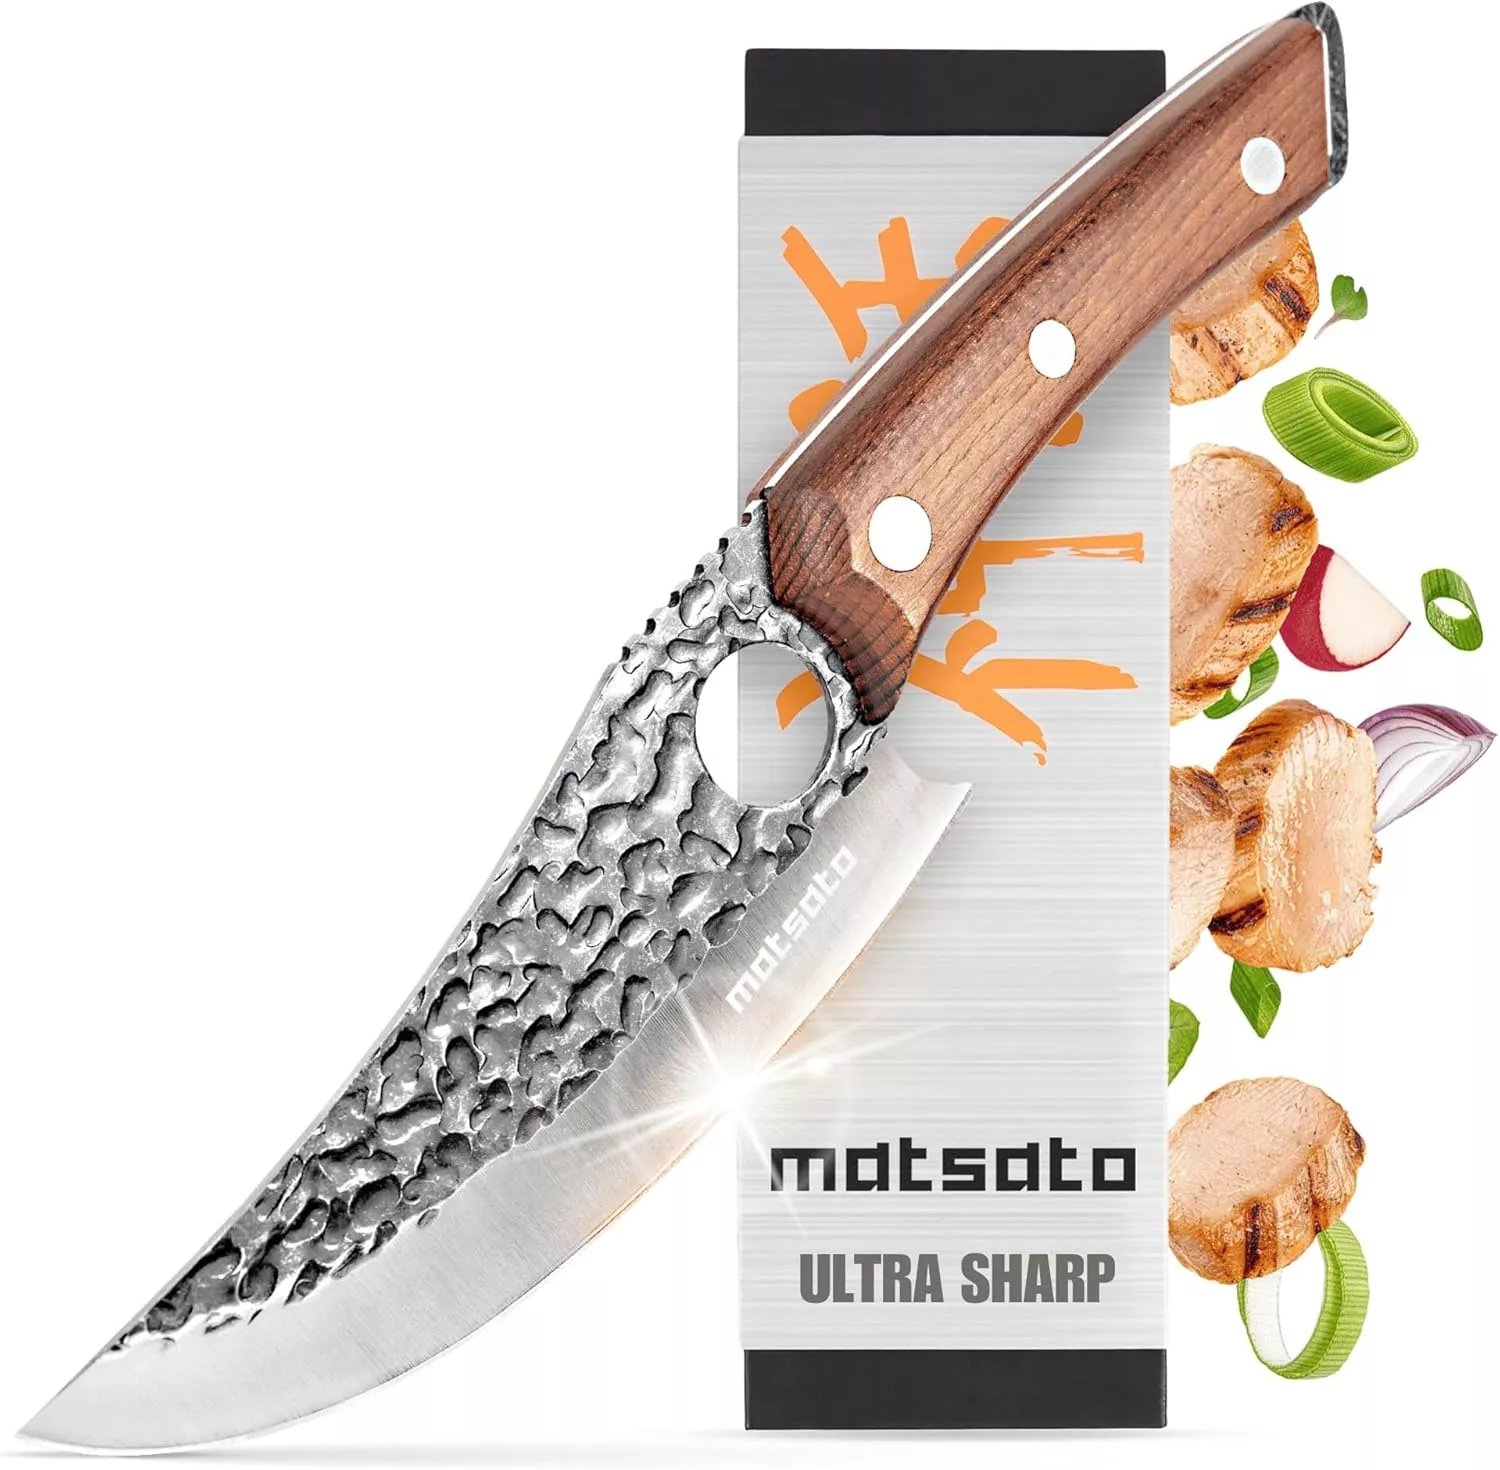
- Stays Razor-Sharp: Ice-hardened blade keeps its edge longer than ordinary knives
- Superior Grip Control: Unique finger hole design gives you perfect balance and safety
- Built to Last a Lifetime: Premium stainless steel blade with elegant beech wood handle
Customer Reviews ★★★★★
Essential Tools and Equipment
- Parchment paper
- 8” baking pan
- Mixing bowl
- Electric mixer
- Spatula
Importance of Each Tool
- Parchment paper: Helps prevent sticking and makes it easier to remove the brownies from the pan.
- Electric mixer: Ensures that your frosting gets light and fluffy quickly, saving you time and effort.
Ingredients
These easy Graveyard Halloween Brownies are the perfect fun and spooky treat for a party! All you need is chocolate brownies, milano cookies, candy pumpkins, and a little frosting.
For the Brownies
- Prepared brownie batter for an 8” pan
For the Decorations
- 12 milano cookies
- Black decorating gel
- 12 candy pumpkins
For the Frosting
- 1 cup powdered sugar
- 1/4 cup butter (salted or unsalted), softened
- 2 teaspoons milk
- Green food coloring (a few drops, to reach your desired color)
How to Make Halloween Brownies
Step 1: Prepare Your Pan
Line an 8” baking pan with parchment paper, leaving some overhang on the sides so you can easily pull the brownies out later.
Step 2: Bake the Brownies
Pour brownie batter into the prepared pan and smooth it into an even layer. Bake according to recipe instructions until fully cooked.
Step 3: Cool and Cut
Allow brownies to cool completely. Pull up on the parchment paper to transfer them to a flat surface. Cut into rectangles (I cut mine 4 x 3 to make 12 rectangle brownies).
Step 4: Make the Frosting
In a mixing bowl, combine all frosting ingredients. Mix for about 2 minutes until light and fluffy. Adjust consistency by adding more powdered sugar for thickness or more milk for thinness. Add green food coloring until you reach your desired shade.
Step 5: Decorate Cookies
Use the black decorating gel pen to write R-I-P on each milano cookie. For extra effect, you can trim the bottom edges of the cookies.
Step 6: Assemble Your Graveyard
Press each cookie into the top of a brownie rectangle as if it’s a grave headstone.
Step 7: Final Touches
Spoon a little green frosting near each headstone and place a candy pumpkin on top for the finishing touch!
Now you’re all set with your delicious Halloween Brownies! Enjoy these spooky treats at your next Halloween celebration!
How to Serve Halloween Brownies
These Halloween brownies are not only delicious but also visually fun, making them a perfect addition to any spooky gathering. Here are some creative ways to present and serve your Graveyard Halloween Brownies.
Individual Servings
- Place each brownie rectangle in a cupcake liner for an easy grab-and-go treat.
- Use small clear bags tied with orange or black ribbons for a cute party favor.
Festive Platter
- Arrange the brownies on a decorative platter with other Halloween-themed snacks for an eye-catching centerpiece.
- Add some fake spider webs around the platter for an eerie touch.
Brownie Sundae Bar
- Set up a sundae bar with scoops of vanilla ice cream, chocolate syrup, and whipped cream beside the brownies.
- Encourage guests to create their own spooky brownie sundaes.
Halloween-Themed Plates
- Serve the brownies on themed plates featuring ghosts, pumpkins, or witches to enhance the festive atmosphere.
- Pair with matching napkins and utensils for a complete look.
Trick-or-Treat Bags
- Package brownies in small trick-or-treat bags along with other candy for a fun surprise.
- Perfect for handing out at parties or even for local trick-or-treaters.

How to Perfect Halloween Brownies
To ensure your Halloween brownies turn out perfectly every time, consider these helpful tips. Following these suggestions will help you achieve the ideal blend of flavor and fun presentation.
- Use quality ingredients – High-quality chocolate and cocoa powder make a significant difference in taste. Always opt for good brands.
- Don’t overbake – Check your brownies a few minutes before the recommended baking time. They should be slightly undercooked for a fudgy texture.
- Cool completely – Allow the brownies to cool fully before cutting. This helps maintain their shape and makes them easier to handle.
- Customize decorations – Feel free to swap out candy pumpkins for other Halloween candies like gummy worms or chocolate spiders for variety.
- Experiment with flavors – Add spices like cinnamon or nutmeg to the batter for an autumn twist that pairs well with chocolate.
- Store properly – Keep leftovers in an airtight container at room temperature to maintain freshness.
Best Side Dishes for Halloween Brownies
Pairing sides with your Halloween brownies can elevate your dessert table. Here are some tasty options that complement this spooky treat perfectly.
- Pumpkin Spice Cookies – Soft and chewy cookies infused with pumpkin spice, perfect for fall gatherings.
- Ghostly Marshmallow Pops – Marshmallows dipped in white chocolate and decorated like ghosts add a sweet touch.
- Caramel Apple Slices – Fresh apple slices drizzled with caramel sauce offer a crunchy contrast to the soft brownies.
- Cheesy Spider Dip – A creamy cheese dip shaped like a spider, served with crackers or veggies, adds savory balance.
- Creepy Cheese Platter – A selection of cheeses arranged in fun shapes, like skulls or bats, paired with crackers is always a hit.
- Witch’s Brew Punch – A refreshing green punch made with lime sherbet and lemon-lime soda keeps guests hydrated while adding color to your spread.
Common Mistakes to Avoid
Making Halloween Brownies can be a fun and creative process, but there are some common pitfalls to watch out for.
- Using the wrong pan size: If you use a pan that is too big or too small, your brownies may not bake evenly. Always stick to an 8” pan for this recipe.
- Not letting brownies cool completely: Cutting brownies before they cool can lead to messy edges. Allow them to cool fully in the pan for better results.
- Ignoring frosting consistency: A frosting that is too thin will run off the brownies. Adjust the powdered sugar and milk until you achieve the right thickness.
- Overbaking the brownies: Overbaking can make your brownies dry. Keep an eye on them and perform a toothpick test a few minutes before the recommended baking time.
- Forgetting the decorations: The fun of Halloween Brownies comes from their spooky decorations. Don’t skip on adding candy pumpkins or writing on the cookies!

Storage & Reheating Instructions
Refrigerator Storage
- Store leftover Halloween Brownies in an airtight container.
- They will keep well in the fridge for up to one week.
Freezing Halloween Brownies
- To freeze, cut brownies into individual pieces.
- Wrap each piece in plastic wrap and place them in a freezer-safe container.
- They can be frozen for up to three months.
Reheating Halloween Brownies
- Oven: Preheat to 350°F (175°C) and warm for about 10 minutes for best texture.
- Microwave: Heat individual brownies on a microwave-safe plate for 10-15 seconds until warm.
- Stovetop: Place on a skillet over low heat, covering with a lid until warmed through.
Frequently Asked Questions
Here are some common questions about making Halloween Brownies.
What makes these Halloween Brownies special?
These Halloween Brownies stand out because of their fun graveyard theme, decorated with candy pumpkins and cookies shaped like tombstones.
Can I customize my Halloween Brownies?
Absolutely! You can add different candies or use colored frosting to create your favorite spooky designs.
How do I make my brownies more chocolatey?
You can mix in chocolate chips or use dark cocoa powder instead of regular cocoa powder in the brownie batter.
Can I use gluten-free ingredients?
Yes, substitute regular flour with gluten-free flour to make these delicious Halloween Brownies gluten-free.
How long does it take to prepare these treats?
The total prep and cook time is just about 40 minutes, making it a quick and easy dessert option!
Final Thoughts
These Graveyard Halloween Brownies are not only delicious but also fun to create. They make for an excellent treat at any spooky gathering. Feel free to customize them further with your favorite candies or decorations!

Halloween Brownies
- Total Time: 40 minutes
- Yield: Makes approximately 12 servings 1x
Description
Get ready to delight your guests this Halloween with these irresistible Halloween Brownies! These spooky treats are not only deliciously chocolatey but also visually captivating, featuring a fun graveyard theme that will leave everyone impressed. Perfect for parties, school events, or family gatherings, these brownies are easy to make and can be customized with various decorations. The rich brownie base is topped with fluffy green frosting and adorned with Milano cookies and candy pumpkins, creating a festive and playful dessert that both kids and adults will love. Whip up a batch of these Graveyard Brownies and watch them disappear faster than you can say “Boo!”
Ingredients
- Prepared brownie batter (for an 8'' pan)
- 12 Milano cookies
- Black decorating gel
- 12 candy pumpkins
- 1 cup powdered sugar
- 1/4 cup softened butter
- 2 teaspoons milk
- Green food coloring
Instructions
- Preheat your oven and prepare an 8'' baking pan lined with parchment paper.
- Pour the brownie batter into the pan and bake according to the recipe until fully cooked.
- Allow brownies to cool completely before removing them from the pan and cutting them into rectangles.
- In a mixing bowl, combine frosting ingredients until light and fluffy; adjust for desired consistency.
- Decorate Milano cookies with 'R-I-P' using black gel, then press each cookie into the top of a brownie rectangle.
- Add green frosting around the headstones and place candy pumpkins on top for a finishing touch.
- Prep Time: 15 minutes
- Cook Time: 25 minutes
- Category: Dessert
- Method: Baking
- Cuisine: American
Nutrition
- Serving Size: 1 brownie rectangle (45g)
- Calories: 195
- Sugar: 15g
- Sodium: 120mg
- Fat: 9g
- Saturated Fat: 5g
- Unsaturated Fat: 3g
- Trans Fat: 0g
- Carbohydrates: 27g
- Fiber: 1g
- Protein: 2g
- Cholesterol: 20mg


